Step 1: Check Sydney regulations.
Take the time to find out what regulations may apply where you live before you start your fencing project.
Installing fencing may require a separate license in some areas, or it may be covered by another license. Here are some of the Sydney fencing regulations you should know about:
- Metal fencing must be installed by someone who holds a metal fabrication, carpentry, or builder’s license.
- Fencing must be structurally solid, installed according to manufacturer’s requirements, and adhere to the Australian Building Code (BCA).
- If you’re building a new fence or replacing an old one that divides your property from your neighbor’s, it’s crucial to notify them of your plans and familiarize yourself with the Dividing Fences Act 1991 so you know your rights in the event of a disagreement.
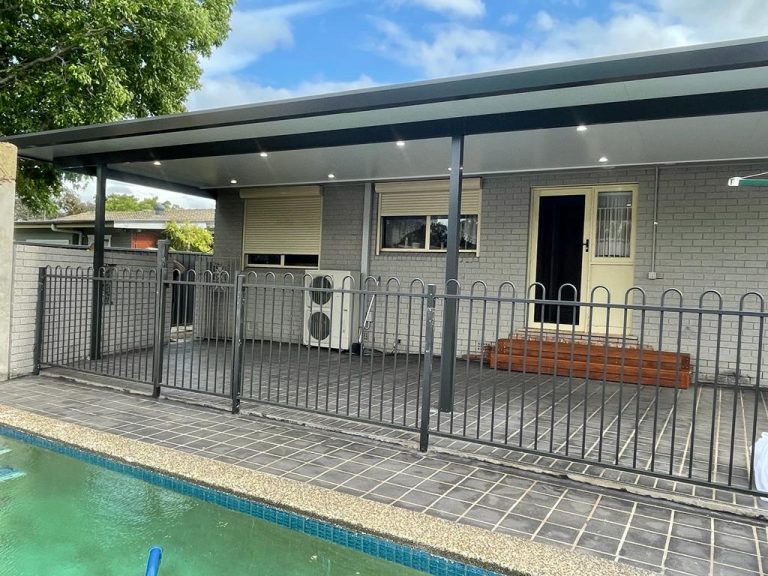
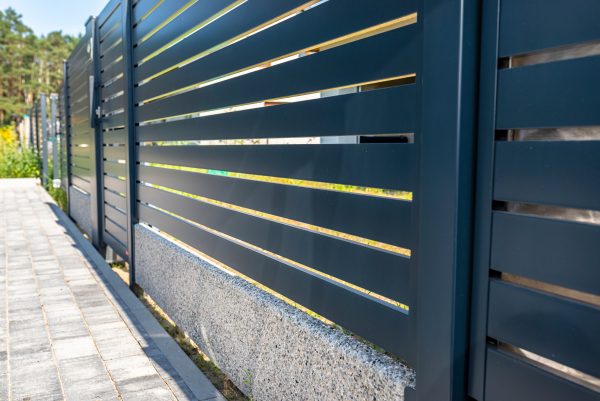
- A residential fence should not exceed 1.8 meters in height as a general rule.
- Metal fence materials must be low reflective and factory pre-coloured.
Consult with your fencing contractor in Sydney to make sure that your installation adheres to local council and BCA regulations.
Step 2: Get the necessary measurements.
To begin, measure and mark the area where your fence will be installed. You’ll be able to figure out how many COLORBOND® steel panels, posts, and caps you’ll need for your project this way. If you don’t do it correctly, you can end up buying too many or too little amount of materials.
Step 3: Gather your supplies.
First, let’s make sure you have the right materials for this job. These are what you’re going to need:
- (2) Square posts
- Standard fence posts (2 per fence panel)
- Infill sheets (3 per fence panel)
- Bottom rails
- Top rails
You’ll also need these tools:
- Post hole digger
- Concrete mix (2 bags per post hole)
- Wheelbarrow
- Set-out paint
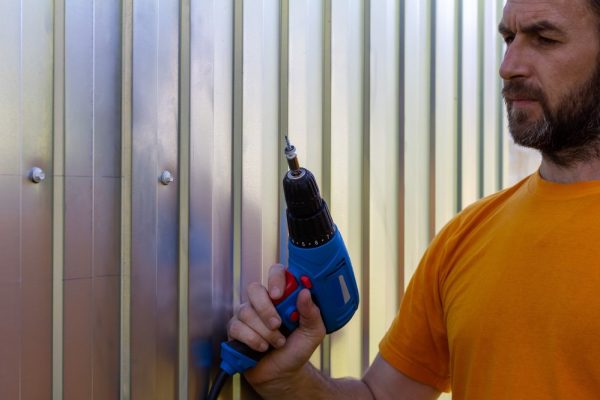
- Drill and bits
- Self-tapping screws
- Stringline
- Magnetic spirit level
- Tin snips
- Safety glasses
- Hammer
- Spirit level
- Tape measure
- Shovel
You will also need an extra pair of hands to assist you in measuring, holding posts upright, and doing other jobs.
Step 4: Start digging the post holes.
Laying down posts for a COLORBOND® steel fence is simple. Your fence posts must be spaced according to the width of your panels, so space the two post holes accordingly. Make sure there are no pipes or utilities beneath your fence line before digging to avoid any accidents.
After you’ve determined that the space below is free, dig your post holes while taking into account the hole’s depth and capping. Your post must be perfectly plumb, otherwise your fence will not line up correctly.
Step 5: Place the posts and make sure they’re level.
Insert a pole into the hole using the spirit level. Have your helper keep it in place. Mix the instant concrete and pour it in. Since instant concrete dries quickly, you must work swiftly. Let this dry before proceeding to the next step.
Step 6: Install rails and panels.
After you’ve installed your posts, you can proceed to installing the bottom rails. The COLORBOND® steel fence panels are slipped into this. This should, in theory, leave little to no gap with the ground.
Each rail must be absolutely parallel to the next. Even on level terrain, this is difficult to achieve, but on a sloping block, it is a work for experts only. The panels will be screwed or bolted into position on the fence rails. Install the top rail after sliding the panels into place.
Step 7: Finish off by installing fence capping.
After all of the panels are in place, you can finish the task by installing the fence capping, which secures the panels and completes the operation. Check the fence one more time and make sure everything is in order.